
The Video Building Block is a way to add video clips to your Graphics Package. It is useful to use as a background animation and pre-rendered lower thirds backgrounds to your Graphics.
The supported formats are:
MP4 (Offers the best compression rate).
WebM (Has an alpha channel, so it supports transparencies). WebM is particularly suited for video elements requiring transparent backgrounds, such as overlays or lower thirds.
The maximum supported size is 50MB.
For videos> 50MB, we recommend converting to the WebM format, which is much lighter. You can use Shutter Encoder for video conversion. Opt for WebM not only when file size is a consideration, but also when transparency or compatibility with overlays and lower thirds is required.
To convert videos with an alpha channel to WebM format, you can follow the step-by-step instructions in the following video tutorial. PNG sequences or other image sequences cannot be used directly in Viz Flowics. Instead, graphical elements such as lower thirds should be rendered as WebM files with an alpha channel for compatibility.
Remember, an Overlay will be created automatically if you did not add it to the Tree after adding an element.
To learn how to add elements to the Tree, click here.
Adding a Video Building Block

(1) Create a video element by dragging it from the building blocks.
(2) Click on Select a file to upload the video through the Asset Library.
(3) Click on “New”, then “Asset upload.For transparent video elements like lower thirds, ensure the video is rendered in WebM format with transparency enabled to maintain the intended visual effect.
(4) Select the video from your Asset Library.
Video Settings
Properties
Properties
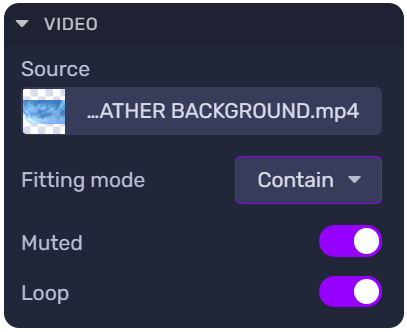
Source: Use it to upload a video.
Fitting mode: the way the video adjusts to its size:
Fill: Stretches the video to cover the entire element area, regardless of the aspect ratio.
Cover: Scale and crop the video to cover the entire element area, keeping the video’s aspect ratio.
Contain: Scales the video to keep its aspect ratio, fitting the element without cropping.
Muted & Loop: Use any of these toggles to control how videos behave.
Positions and Size
Positions and Size
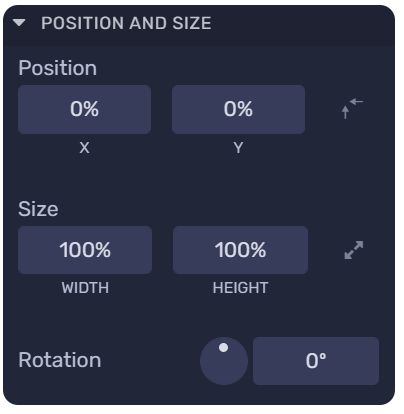
Position: Change the video position according to the X and Y axes.
Size: Adjust the video size within the canvas to match its width and height.
Rotation: You may rotate your element to any degree.
Appearance
Appearance
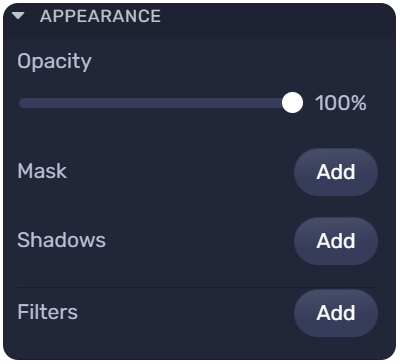
Opacity: Change the element’s transparency.
Mask: Add a mask to the element. Learn more about Masks in this article.
Filters: Apply visual effects to the element. You can learn more about Filters in this article.
Borders
Borders
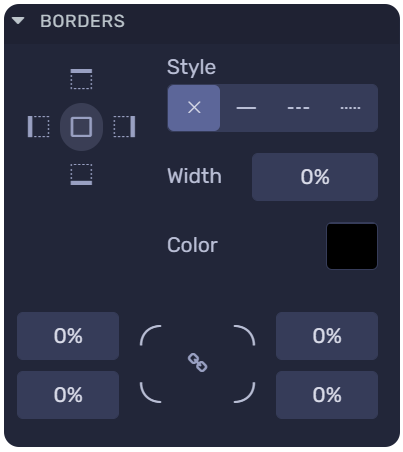
Style: Defines the border's sides and style.
Width: Defines how wide the border will be.
Color: Choose a border color.
Radius: Increasing this value rounds the video's corners.
Learn how to change these properties specific to borders.